I had planned the fuse block to go in to the duck tail, in front of the cruise control unit, and mounted on a plate.
Here is what I was starting with...
I bought some stainless steel plate and started to shape it to be able to fit the area snugly, and to neaten up the appearance...
At first - I tried a sheet of aluminium, but found that it was not sturdy enough for the job, and then got the more substantial piece of steel, which meant using different tools to mount it...
It ended up looking pretty good.
Now, I had put in a lot of thought to the actual joints for the connectors so that they were firm and reliable. This meant purchasing a good quality crimper and connector set...
I got this crimper, which comes with 5 different sets of dies (jaws) for different applications...
I also made a decision to 'work clean' as this helps the job to run a little smoother...
It didn't always look like this, but it made selecting tools and components a fair bit easier.
Oh, and make sure you pour yourself a good Cab-shiraz too.
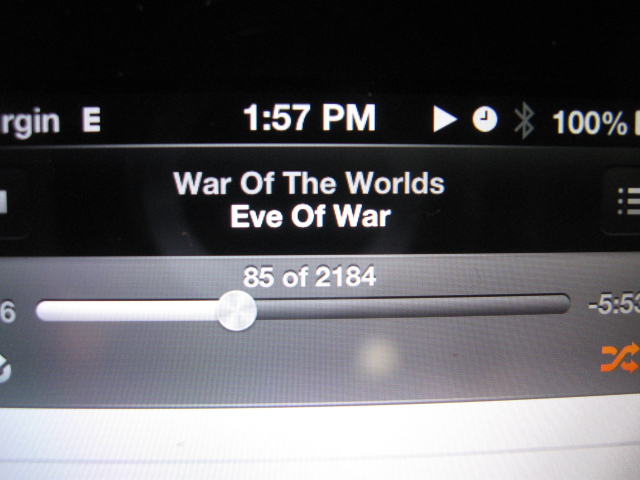
I chose an old classic to listen to...
And completed the feng shui ensemb with an incence burner...
Right. Ready to go then....
After a practice or two, I started making connections like this....
...And therefore - the wiring started to look like this.....
I was pleased with how things were shaping up.
I also wrapped wires with protectors and cable ties to keep the wires safe, and organised. It also looked neater...
I then meticulously ran the cables through the bike frame as they had to carry current from the rear ducktail to the front of the motorcycle.
This was the reason for stripping the Pan down, so I could get to a lot of the fiddly and hidden areas, such as under the air box.....
I really recommend you pour another cab-shiraz here and take your time considering the route you want your wires to take, and fiddle about for an hour if necessary to get this part right. You will be grateful looooong after the pain and frustration of this process if you do it right. This ensures a nice job visually, but more importantly, you get the wiring loom into positions where they won't be pinched or rub (and therefore eventually fail) on other components during the riding process.
Also - keep in mind the heat centres of the bike here when it is at running temps, that you are not too close to exhausts etc.
I took the trouble/opportunity to run a second multistrand cable in case I needed some lower amperage power feeds later on...
And I made sure I left enough length, and tied it off at the front of the bike...
I can't emphasise enough here about sitting, thinking and planning your job weeks before you actually attempt it, as you learn things you didn't know, and the plan changes sometimes many times before the final is laid down. You also think of planning ahead - like this (currently) redundant cable. I'll be glad it's there for future plans when the time comes.
See the next instalment for fitting the HID spotlights and rewiring the lighting setup.
End of Part 2.


No comments:
Post a Comment